Embrace the Art of Cabinet Painting
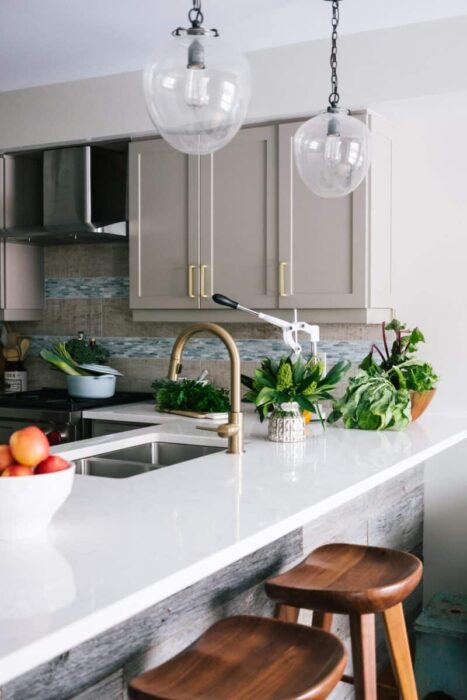
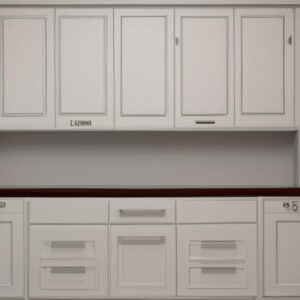
Welcome! If you’re reading this, I guess you’re ready to dive headfirst into the wonderful world of kitchen cabinet painting. Whether you’re a DIY enthusiast or just looking to give your kitchen cabinets a fresh coat of paint, you’re in the right place.
I’m going to guide you, step-by-step, on how to get that perfect paint job on your kitchen cabinets. Before we get started, let’s make sure you have everything you need. You’ll require a few essential items such as warm water, a damp cloth, a soft cloth, a tack cloth, some dish soap, and of course, your paint of choice.
Remember, the devil is in the detail! A magnificent transformation is truly within your grasp, if only you prepare well. Proper cleaning and preparation of your wooden cabinets and cabinet doors could be the difference between an amateurish splash of paint and a professional-looking, smooth finish.
Don your safety gear (more on that later!) and roll up your sleeves because we’re about to embark on this colorful journey together. Stay tuned, and let’s inject a splash of life back into your kitchen!

Safety Gear
Before we dive headfirst into the deep sea of cabinet cleaning, it’s important to set sail with the proper safety gear. Just like a knight wouldn’t go into battle without his armor, you shouldn’t start your cleaning expedition without being well-equipped.
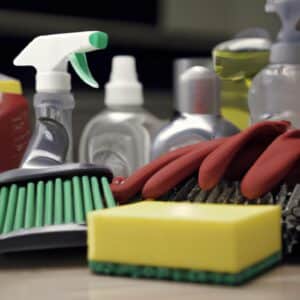
First order of business? Gloves. Protecting your hands from the grime and grease we’ll be tackling is paramount. A sturdy pair of rubber gloves will do just the job and are as crucial to this mission as a superhero’s cape!
- Goggles: To protect your eyes from any unexpected splashes.
- A Dust Mask: A must to keep those pesky dust particles and possibly harmful chemicals at bay.
Using the right safety gear is like having a secret weapon in your cleaning arsenal. It’s not only about keeping you safe but also about transforming you into an efficient cleaning machine ready to take on any dirt or grease that stands in your way!
Remember, a well-prepared cleaner is a successful one. So, buckle up and let’s get ready to rumble with that grime!
Cleaning the Cabinets
Now, let’s get elbow-deep into the heart of the matter – cleaning your kitchen cabinets. Like a skater preparing a fresh canvas of ice, you need to prep the surface before painting. The cleaning process might seem like climbing a mountain, but with the right tools, it becomes a walk in the park.
- Start with a simple, gentle approach. Using warm water and a damp cloth, wipe down the cabinets. This is the first step in disarming the grime army.
- Next, bring out the big guns – a soft cloth. Tenderly stroke your cabinet doors with it to show them you mean no harm. This step is like filtering coffee – taking out the unnecessary elements and leaving the pure beauty behind.
- Use a tack cloth to remove the stubborn dust and dirt that clings on like a determined rock climber. It’s the secret weapon in your cleaning arsenal.
- For a final, thorough cleanse, mix dish soap and water. This solution is your magic carpet ride to grease-free cabinets. Apply it generously and watch the grime melt away like snow on a sunny day.
Remember, every cleaning stroke is a brush stroke towards your masterpiece. Patience and diligence will defeat the greasy invaders hiding in the shadows of your kitchen cabinets.
Preparing the Surface
After your cabinets are grime free, it’s time to prepare their surface for the paint. Think of it as applying a base coat before your nail polish, you’re setting the stage for a flawless finish.
Firstly, grab a dry cloth and wipe the entire cabinet surface. This step should be as smooth as a ballet dancer’s pirouette, removing any lingering dust particles from the cleaning process.
Then, it’s time for the supporting cast to enter. Combine a dish soap and water solution in a spray bottle. Spray the solution lightly onto the cabinet and use a soft cloth to spread it evenly. You’ll become a maestro of cleaning, conducting the cloth in a circular motion, like a conductor guiding an orchestra to a symphony of cleanliness.
- Spray bottle + dish soap + water
- Soft Cloth
For those hard-to-reach areas or obstinate smudges, turn to a microfiber cloth to apply the cleaning solution. The smaller fibers work like tiny soldiers, digging into every crevice and removing any stubborn remnants.
With your cabinets now squeaky clean and ready for their makeover, you’re one step closer to achieving that perfect paint job. But remember, no rushing – good things take time, like a fine wine aging to perfection!
Applying the Paint
Now, we’re at the heart of the transformation – applying the paint. This is where you’ll see your old cabinets morph into a fresh, vibrant feature in your kitchen. But, don’t get so carried away by the excitement that you forget to prep properly! Remember, a good paint job is 90% preparation.
Before you start painting, ensure the cabinets are clean and dust-free. A speck of dust can ruin the smooth finish we’re aiming for. Here’s what you need to do:
- Wipe down the cabinets with a clean cloth.
- Double-check that all grease and dirt have been removed.
With your cabinets clean as a whistle, you’re ready to invite color into your kitchen. When applying the first coat of paint, remember, less is more. It’s better to apply multiple thin coats rather than one thick one. This ensures a smooth, professional finish.
So grab that paintbrush, dip it into your chosen hue and let the transformation begin!
Remember, the secret to the perfect paint job is patience. Allow the first coat to dry thoroughly before applying the second. Don’t rush the process – after all, Rome wasn’t built in a day!
Finishing Touches
Now that your cabinets look fresh with a new coat of paint, it’s time to add the finishing touches. This is where your kitchen really begins to shine and feel brand-new again. Let’s dive right into it!
Reattaching the Hardware
Once the paint on your cabinets has dried completely, carefully reattach the cabinet hardware. This is your chance to add a new lease of life to your kitchen – just like the icing on a cake!
- Wait until the paint has thoroughly dried before reattaching the hardware.
- Gently screw the knobs or pulls back into place.
Cleaning Residue
Next, it’s time to ensure your cabinets are spotless. I recommend using warm water and a clean cloth to wipe off any leftover residue.
- Use warm water and a clean cloth to remove any dust or debris.
- Buff the surface with a dry cloth for a nice shine.
Dealing with Stubborn Grease
Last but not least, don’t forget to tackle any stubborn grease spots. This is where your rubber gloves and heavy grease cleaner come into play.
- Put on your rubber gloves to protect your hands.
- Apply a small amount of heavy grease cleaner to the spot.
- Wipe clean with a damp cloth and dry off with a towel.
And there you have it! With these finishing touches, your kitchen cabinets should look just as good as new. Remember, it’s all in the details. So, take your time, and don’t rush the process. Happy painting!
Conclusion: The Final Brushstrokes
And there you have it, folks! A sparkling clean, freshly painted set of kitchen cabinets, achieved with your own two hands. We’ve walked through every step, from gathering your tools to applying that final coat of paint. We’ve tackled the grime and dust using a simple mix of warm water and dish soap, and used several types of cloths, making sure no speck of dirt sneaks into our beautiful paint job.
- We’ve dressed in our safety gear, not just for style, but to protect ourselves from the nitty-gritty aspects of the job.
- We’ve scrubbed and wiped, using circular motions to get into every nook and cranny.
- And then, with the precision of a seasoned artist, we’ve applied that first, transformative coat of paint.
But remember, the devil is in the details. Once the paint’s dry, we’ve reattached the hardware and given everything a final clean, even using a heavy grease cleaner for those stubborn spots. It’s like the cherry on top of an already delicious cake!
More than just a cosmetic makeover, this clean-up and repaint have given your kitchen a new lease of life. But the real reward isn’t just the result; it’s the knowledge that you’ve done it yourself. That’s a feeling of accomplishment that can’t be bought in a store.
So, always remember to wear your safety gear, because, as they say, “it’s better to be safe than sorry.” Painting your kitchen cabinets can be a fun and rewarding DIY project if you follow the right steps. Just like in cooking, preparation is key to achieving the perfect result. Happy painting!


